


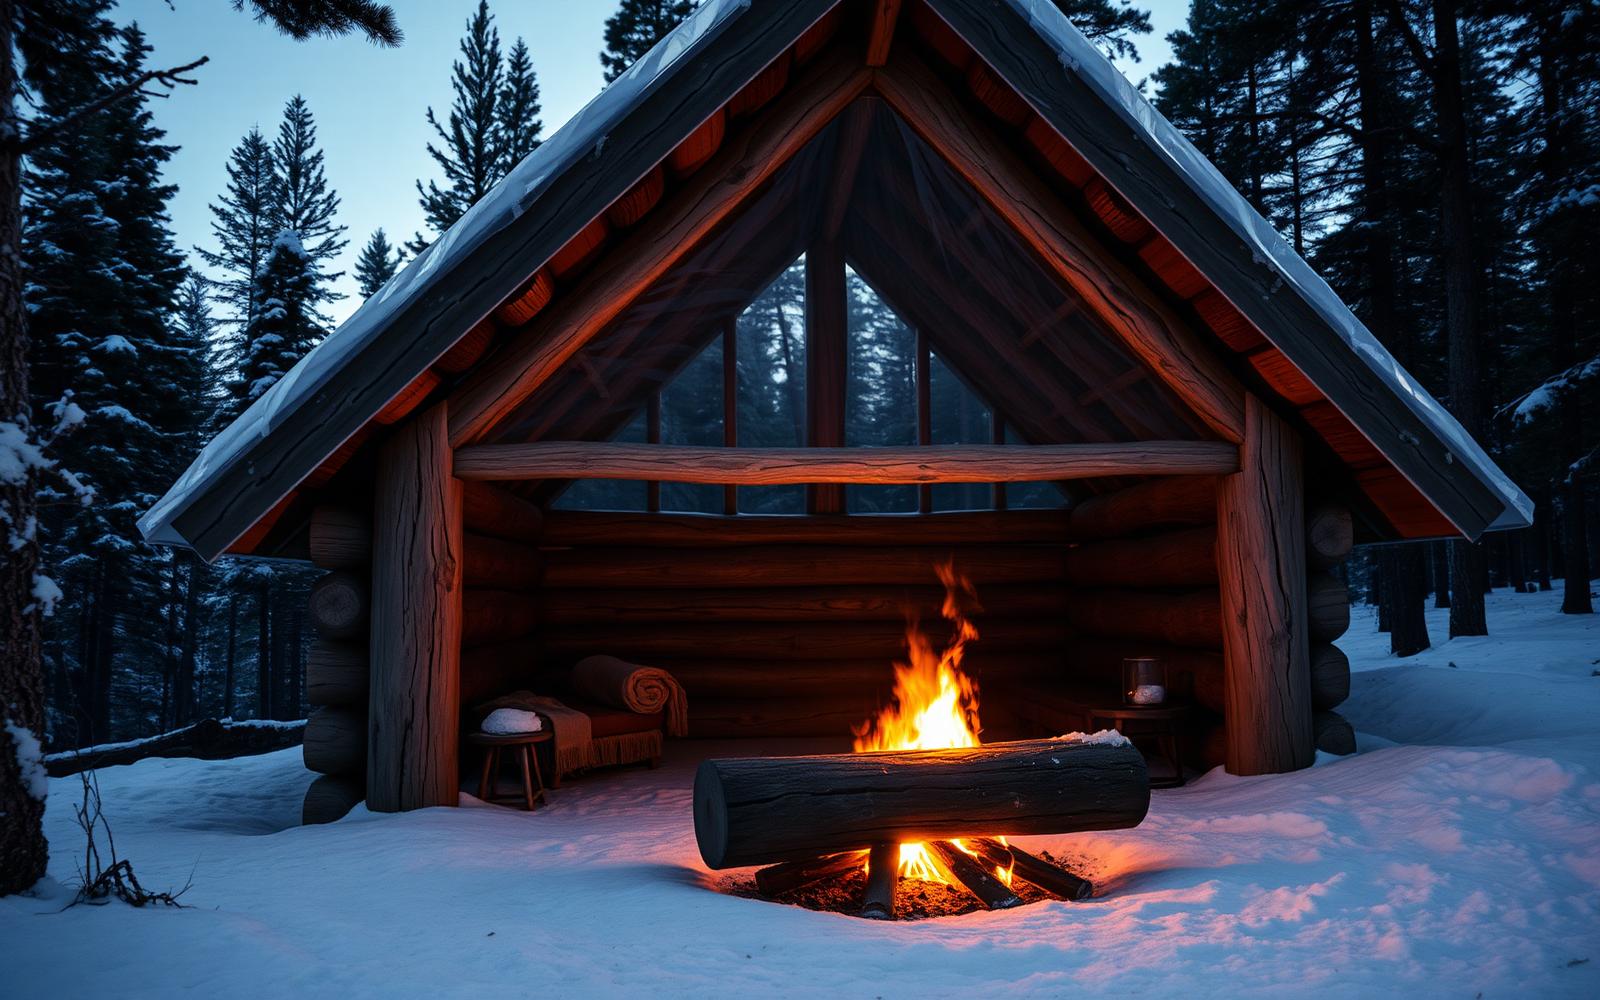
Outdoor photography improves when the camera supports observation instead of replacing it. Plan light, weather, access, safety, and a small shot list, then keep the equipment simple enough to move and notice. The landscape is not required to wait while three lenses debate which one feels artistic.
Plan light and position legally
Use sunrise, sunset, weather, moon, tide, and seasonal information to anticipate conditions. Confirm access hours, permits, drones, tripods, wildlife distances, and commercial-use rules. Scout safe viewpoints in daylight before returning in darkness. Never cross closures or damage vegetation for a composition.
Build a small visual story
Capture an establishing scene, medium environmental frames, details, action, people with consent, and a closing image. Include signs of scale and weather. Photograph preparation and recovery, not only the summit or fish. A coherent set of ten images often communicates more than three hundred unrelated files.
Protect people and equipment
Carry the Ten Essentials and dress for waiting, which can be colder than moving. Use straps around cliffs and water, protect batteries from cold, and weather-seal with covers rather than assuming the camera rating defeats rain. Keep hands available for terrain. No photograph requires standing in a fall line, wave zone, or wildlife’s escape route.
Edit for truth and usefulness
Select images that represent the place and activity honestly. Basic exposure, color, crop, and contrast adjustments can clarify; manipulation that adds wildlife, changes conditions, or removes safety context can mislead. Caption species and locations accurately, while withholding sensitive nesting, cultural, or vulnerable-location details when appropriate.
Six-frame outdoor story
| Frame | Purpose |
|---|---|
| Wide | Place and weather |
| Human scale | Relationship between person and terrain |
| Action | What is happening |
| Detail | Texture, tools, tracks, or hands |
| Challenge | Effort or changing conditions |
| Closure | Departure, camp, or final light |
Common mistakes to avoid
- Carrying every lens: Weight and decision fatigue reduce mobility.
- Backing up without looking: Cliffs and water do not appear in the viewfinder.
- Geotagging sensitive locations: Attention can damage habitat or cultural resources.
Field checklist
- Verify access and photography rules
- Carry safety equipment separately from camera gear
- Create a short shot list
- Protect wildlife distance
- Back up and caption images accurately
Frequently asked questions
What is the best outdoor camera?
The one you can carry, protect, and operate under expected conditions. Phones, compact cameras, and larger systems each have roles.
Should I use a tripod?
It helps in low light and deliberate composition but adds weight and can obstruct trails. Use it safely and courteously.
Can I photograph strangers outdoors?
Laws vary, and courtesy matters. Seek consent for recognizable close images, especially children and commercial use.
Final word
The strongest outdoor photograph usually comes from staying long enough to understand the place. Take the image, then lower the camera and confirm you were actually there.