


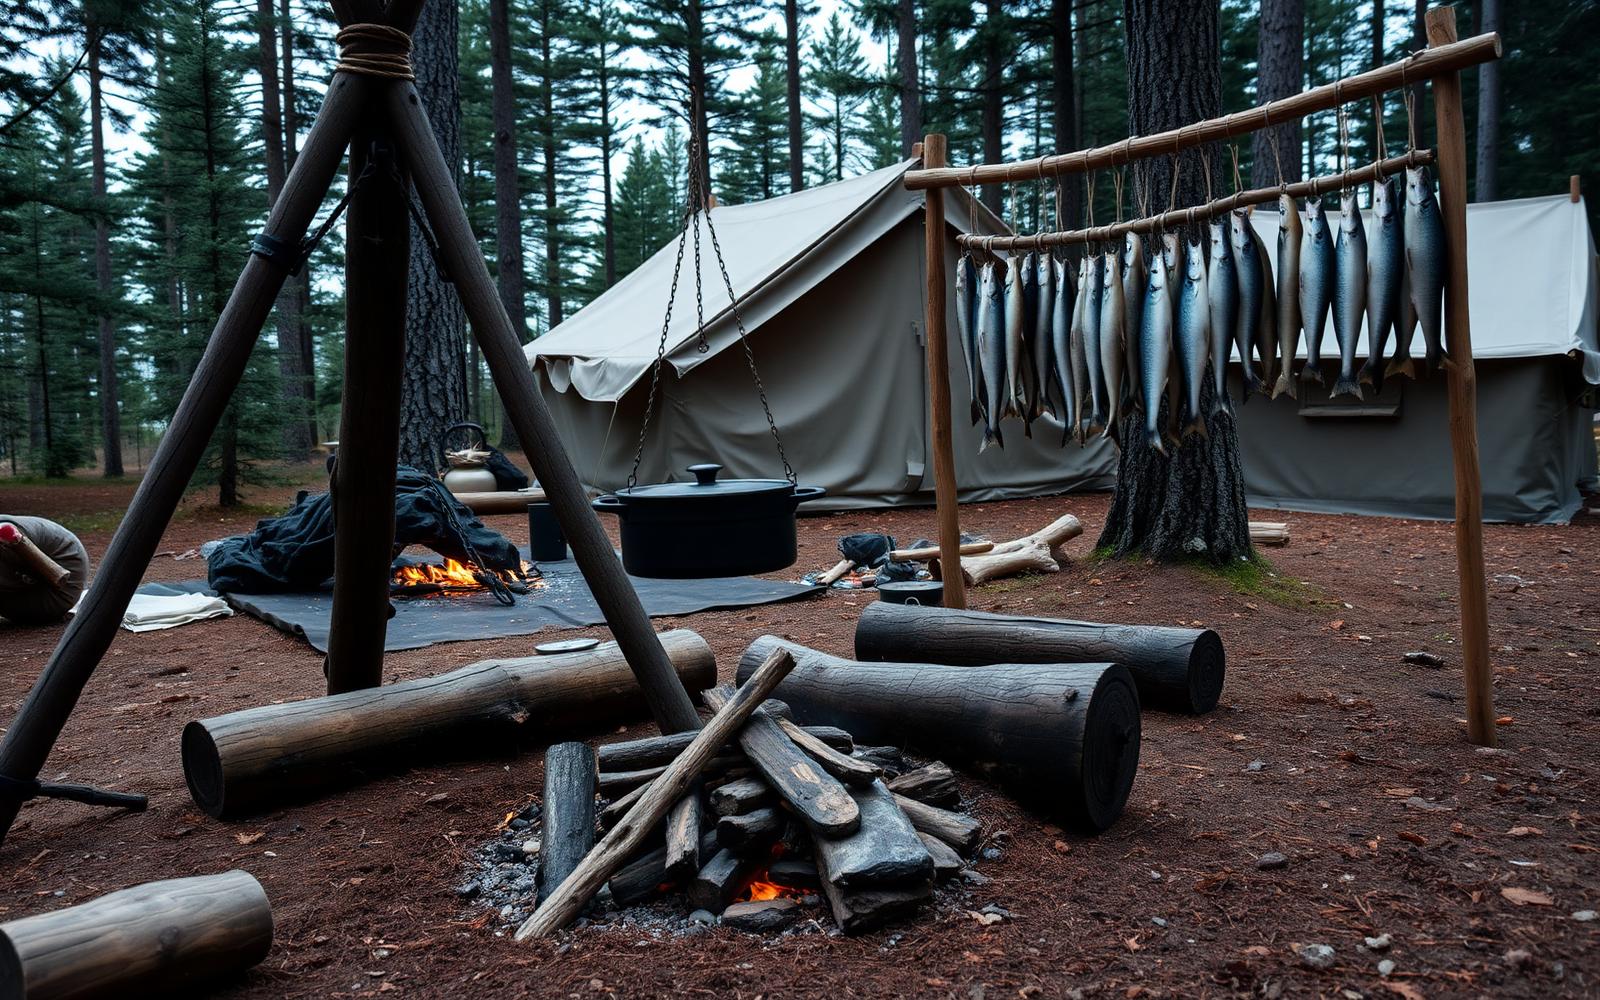
Building a fire in wet conditions with a single match isn't a parlor trick; it's a fundamental bushcraft skill that can be the difference between a comfortable night and a miserable one. It demands attention to detail, patience, and good material selection. This isn't about luck; it's about method.
Understanding the Challenge of Wet Conditions
Rain, snow, or even high humidity don't just make things damp; they thoroughly permeate wood fibers. The goal isn't just to light a fire, but to sustain it. A fleeting flame that dies out offers no real benefit. The key isn't to find completely dry materials – often impossible – but to find materials that can still be processed to expose dry inner fibers, and to create an ignition point that can overcome the inherent moisture.
Heat is the enemy of water. To dry out the larger fuel, you need a small, intense starting fire. This means meticulous preparation of tinder, kindling, and increasingly larger fuel. Shortcuts here guarantee failure.
Essential Materials & Preparation: The Non-Negotiables
Your success hinges on what you choose and how you prepare it. Think in layers, from the finest tinder to the largest logs.
- Tinder: This is your ignition point. It must be bone-dry and fluffy. Natural options include: cedar bark (shaved fine), birch bark (inner, dry layers), cattail fluff (often surprisingly dry inside the stalk), punk wood (rotted wood that crumbles easily), or finely shaved feather sticks from dry inner wood. Artificial tinder like cotton balls soaked in petroleum jelly (carried in a waterproof container) is a reliable backup. Create a bird's nest shape to hold the flame.
- Kindling (Small): Pencil-lead to pencil-width sticks. Look for dead, standing branches (often drier than off the ground), branches on the underside of conifers, or split sections from larger pieces of wood to expose dry inner grain. Shave these into fine curls or small splinters.
- Kindling (Medium): Finger-to-thumb-width sticks. Again, dead and standing is best. Split these down for better burning.
- Fuel Wood: Wrist to arm thickness. Even in wet conditions, you can often find larger, dead branches that are punky or have a drier core. Splitting these is crucial to access the dry interior. Avoid wood that’s punky and rotten throughout; it will absorb too much water and burn poorly.
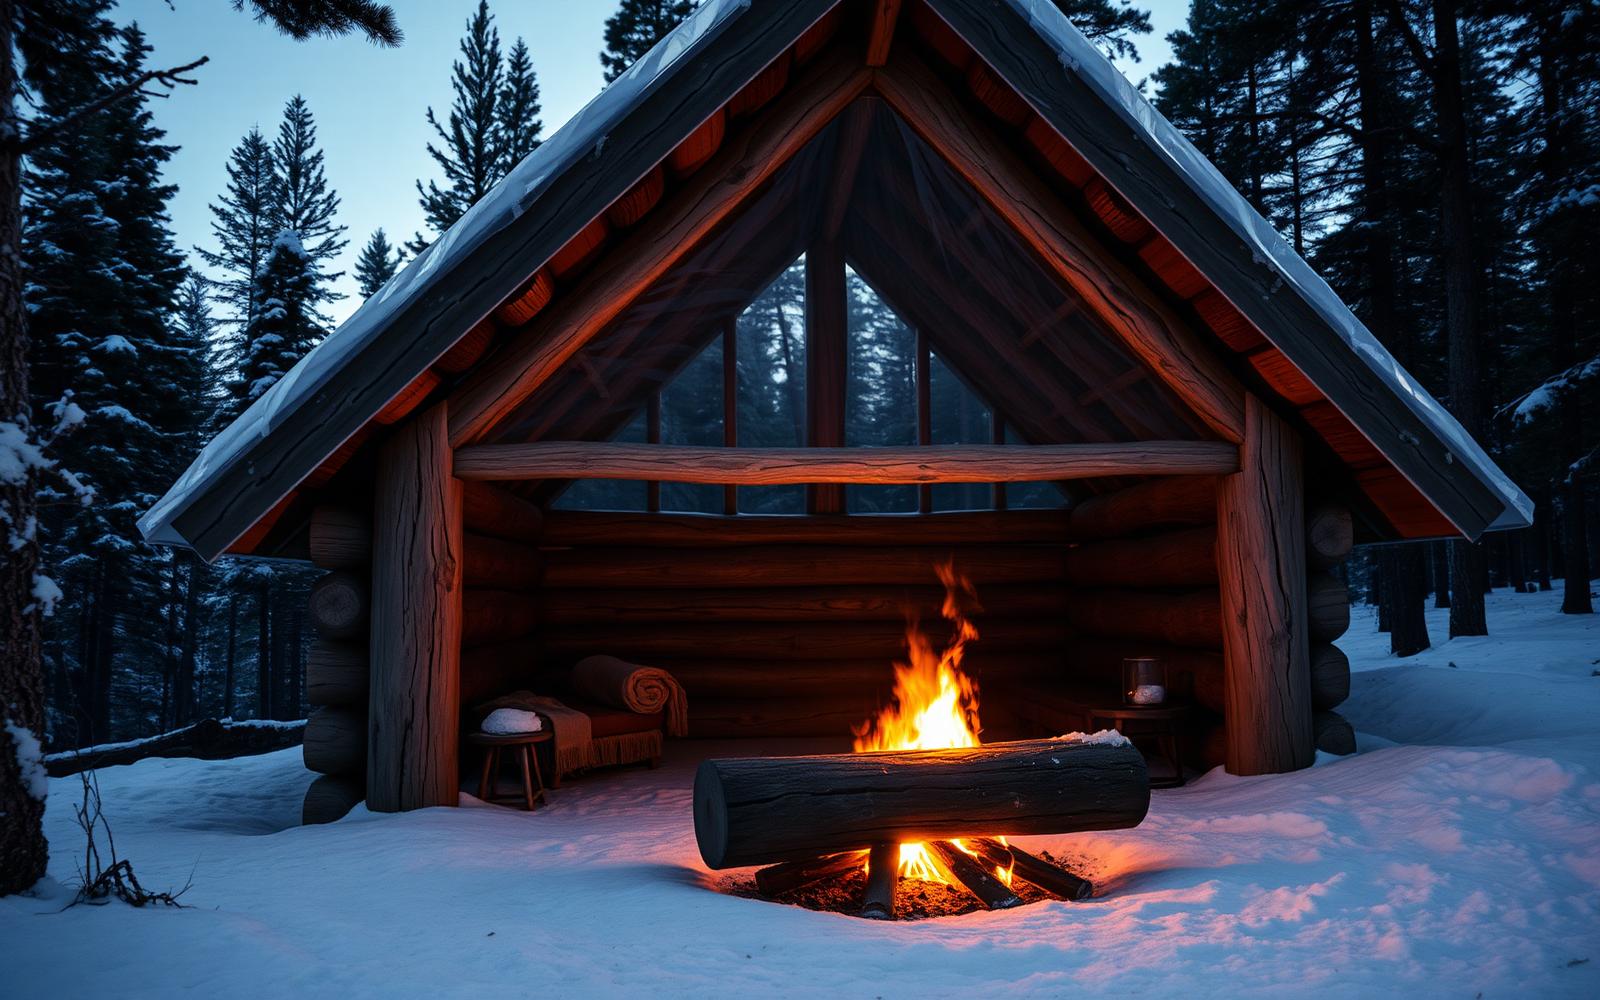
Processing Wet Wood: Even seemingly soaked wood often has a drier core. Use a knife or small saw to split larger pieces. For smaller kindling, scrape the outer, wet layer with your knife to expose drier fibers. The goal is always to get to the protected, dry inner wood.
Building Your Fire Lay: Structure for Success
The structure of your fire lay is critical. It needs to provide air, allow the flame to climb, and dry out progressively larger fuels. A teepee or lean-to structure is generally effective, but a platform is often overlooked.
- Platform: In wet or snowy conditions, build a small platform of sticks or split logs. This elevates your fire from the cold, wet ground, preventing it from being choked and losing heat.
- Tinder Nest: Place your prepared tinder nest on the platform, ensuring it's not directly exposed to the wind but has adequate airflow.
- Small Kindling: Gently place your smallest, finest kindling (pencil-lead thickness) around and over the tinder nest, creating a small cage or teepee. Don't smother it. Think about airflow.
- Medium Kindling: Gradually add your finger-width kindling, again in a way that allows air to get to the base, but starts to build outward and upward.
- Small Fuel: Once the medium kindling is burning reliably, introduce your wrist-sized fuel, gradually, allowing the heat to build.
Ignition and Nurturing the Flame
This is the moment of truth. You have one match. Protect it from moisture at all costs until the exact second of ignition.
- Shield: Create a windbreak with your body, a pack, or a piece of bark. Any gust will make ignition harder.
- Ignite: Light your match and immediately touch it to the driest, fluffiest part of your tinder nest. Don't rush it. Allow the tinder to catch fully.
- Gentle Air: Once the tinder is glowing and starting to flame, gently blow on it from underneath or the side to feed oxygen. Be careful not to blow it out. A gentle, steady breath is ideal.
- Gradual Feeding: As the tinder ignites the smallest kindling, continue to add progressively larger pieces. Do not add too much too fast; you will smother it. Maintain that delicate balance of fuel and oxygen. Stay with your fire, feeding it consistently until it is self-sustaining and the larger fuel is burning well.
Building a one-match fire in the wet isn't about luck; it's a testament to preparation, observation, and methodical execution. Practice this skill safely and responsibly, and you'll gain confidence and competence invaluable in the wild.