



An efficient bushcraft camp reduces movement, protects critical gear, keeps hazards separated, and can be dismantled without leaving a small archaeological site. The goal is not to reproduce a homestead during a weekend. It is to arrange shelter, sleep, water, food, tools, and sanitation so that each task is safer and easier.
Divide camp into functional zones
Place the sleeping area on safe, durable, well-drained ground. Establish a cooking and fire area only where legal, downwind and away from combustible shelter materials. Store food according to local wildlife rules, often well away from sleep. Create a water-processing station that separates untreated containers from clean ones. Choose a sanitation location consistent with land-manager guidance and far enough from water, trails, and camp.
Reduce unnecessary walking and handling
Frequently used items should have predictable homes. Keep illumination, insulation, rain protection, and first aid immediately accessible. Store cutting tools sheathed and out of traffic. Stage firewood where sparks cannot reach it and where it remains dry. A clean workflow saves calories and prevents the classic camp ritual of searching for a headlamp with the other headlamp.
Build only what solves a problem
A pot hanger, simple seat, drying line, or protected wood rack may improve camp when materials can be used legally and with low impact. Every construction should justify its time and resource cost. Avoid cutting live wood, trenching, driving excessive stakes, or creating structures that invite future visitors to expand them. Portable equipment is often more efficient and easier on the site.
Plan the camp for darkness and departure
Walk the route between shelter, food storage, water, and sanitation before dark. Remove ankle traps, mark only what is necessary, and keep clear access to emergency equipment. Before departure, inspect for micro-trash, food scraps, cord, foil, fishing line, and hot ash. Restore moved natural material where appropriate and leave no sharp stakes or unstable structures behind.
Camp zoning at a glance
| Zone | Purpose | Key concern |
|---|---|---|
| Sleep | Shelter and recovery | Overhead hazards, drainage, insulation |
| Cook | Food and heat | Fire, spills, odors, sharp tools |
| Food storage | Wildlife-resistant storage | Distance and local requirements |
| Water | Collection and treatment | Clean/dirty separation |
| Sanitation | Waste and hygiene | Distance, soil, water protection, local rules |
Common mistakes to avoid
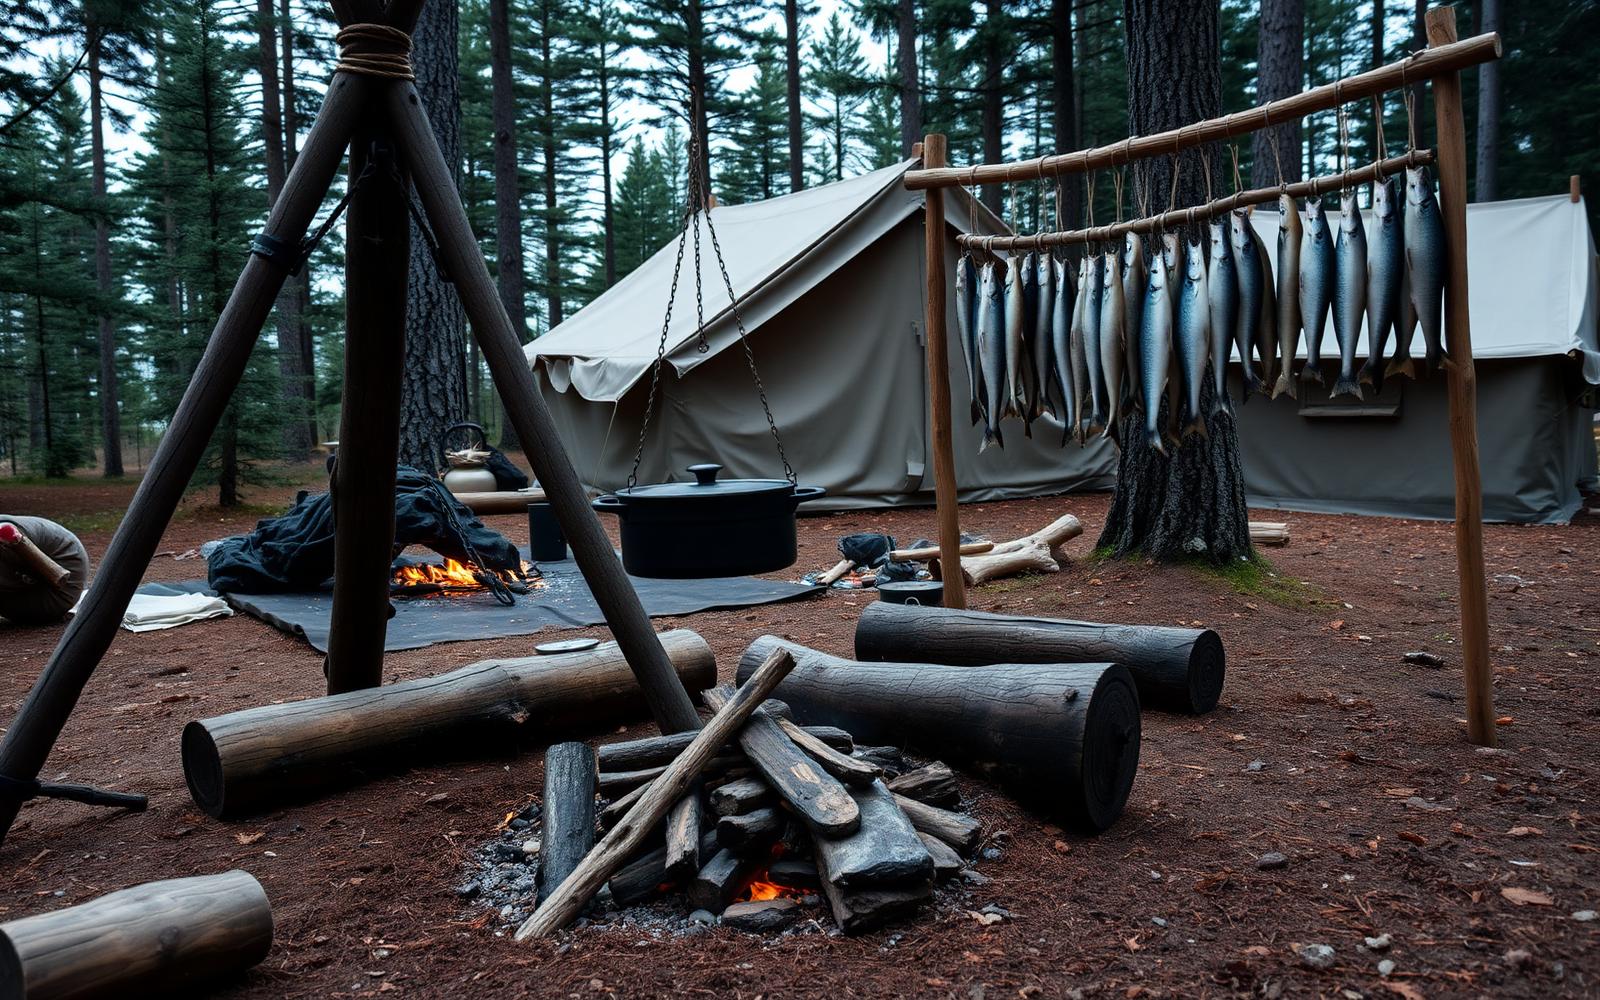
- Putting everything beside the tent: Food odors, flames, tools, and spills do not improve sleep safety.
- Creating permanent improvements: A weekend camp does not need public works.
- Waiting until morning to organize: Night weather or an emergency may demand immediate access.
Field checklist
- Map safe sleep, cook, food, water, and sanitation zones
- Keep emergency equipment accessible
- Store tools securely and out of walking lines
- Follow wildlife and waste rules
- Conduct a final micro-trash and heat inspection
Frequently asked questions
How far should food be from camp?
Follow the exact land-manager rules and approved storage methods for the area. Distances and acceptable systems vary.
Should I dig drainage trenches around a tarp?
Generally no. Choose a better site and pitch the shelter correctly rather than altering soil.
Can I leave a useful structure for the next visitor?
Usually the lower-impact choice is to dismantle it. Follow property-specific rules.
Final word
A good camp feels almost boring to operate. Everything has a place, hazards are separated, and departure requires less repair than construction. That is efficiency, not a lack of imagination.