


15 skills
Navigation
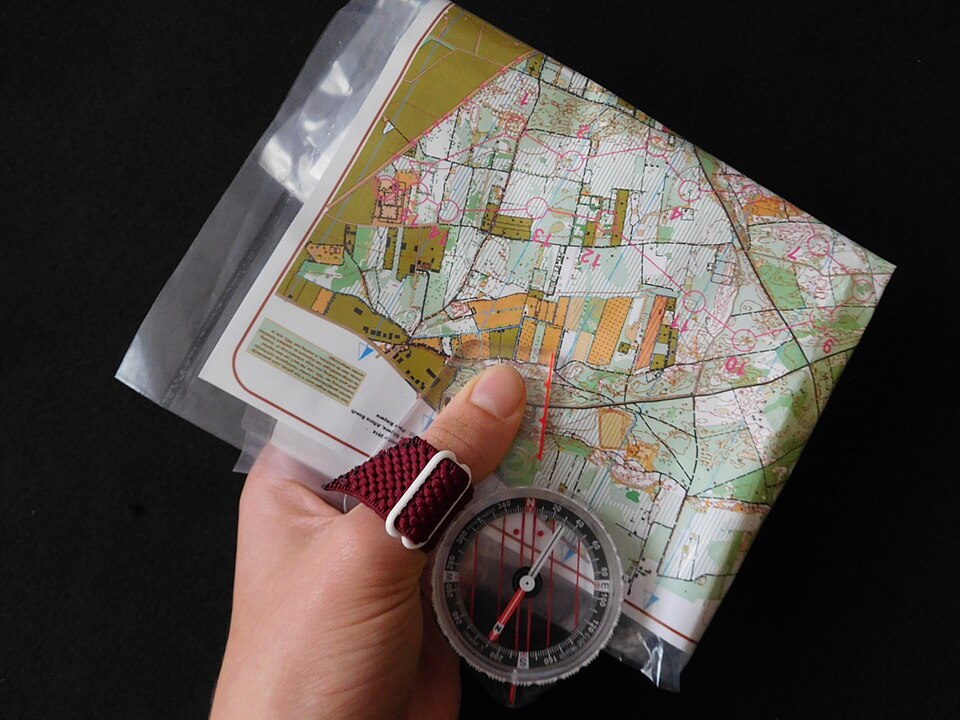
60 minMap & Compass: Take Bearings and Set Courses
Learn to read a compass, correct for declination, plot a route, follow a bearing and locate yourself with a map.
- Identify the compass parts. Find the direction-of-travel arrow on the baseplate, the rotating degree bezel, the index mark where you read a bearing, the magnetic needle, and the orienting arrow and parallel lines inside the housing. The needle's north-seeking end is identified by the manufacturer; do not assume every compass uses the same color scheme.
- Check the instrument on safe ground. Hold it level, let the needle settle, and repeat a reading away from your phone, vehicle, knife, magnetic clasp or other metal. If the reading changes when you move, remove the interference before continuing. Keep the compass suitable for the magnetic zone in which you are traveling.
- Confirm your map and north reference. Read its scale, contour interval, date and legend. Locate true north along the map's meridians and distinguish it from the printed grid north. Find a reliable starting point using multiple matching features, not a single vaguely similar bend or summit.
Tip: Write every course as bearing + north reference + distance + checkpoint. Keep the bezel unchanged while following that leg.
REI — How to Use a Compass (external instructional video)

Navigation
15 minFind north with a stick and shadow
A shadow moves west to east through the day — that gives you a true east-west line.
- Push a straight stick vertically into flat, level ground in the sun.
- Mark the tip of the shadow with a small stone. Wait 15-20 minutes.
- Mark the new tip of the shadow with a second stone.
- The line between the two stones runs west-to-east; first stone is west.
- Stand with the first stone at your left foot and the second at your right — you're facing north.
Tip: Longer wait, more accurate line. This works anywhere the sun casts a shadow.
AlfieAesthetics — The Primitive Compass

Navigation
5 minRead a topo map in one minute
Contour lines tell you shape and steepness — the whole map is in the spacing.
- Close-spaced lines = steep. Wide-spaced = gentle.
- V's pointing uphill = drainage or creek. V's pointing downhill = ridgeline.
- Circles inside circles = a summit; hachured circles = a depression.
- Blue = water, green = vegetation, white = open/rock/snow, brown = elevation.
- Check the contour interval in the legend before guessing elevation.
REI — How to Read a Topo Map

Navigation
10 minNavigate by handrails and catching features
Two habits that keep you found without a GPS: follow a handrail, aim past a catch.
- Pick a linear feature parallel to your route — a river, ridge, road, or valley. That's your handrail.
- Walk keeping the handrail on the same side, checking it visually every few minutes.
- Choose a catching feature past your destination — a river, cliff, or trail perpendicular to your route.
- If you hit the catching feature, you've overshot — turn back along the handrail.
- Aim off deliberately: bias 5-10° left or right of the target so you always know which way to turn at the catch.
Mowser — Essential Hiking Navigation

Navigation
10 minMeasure distance with a pace count
Knowing your pace count over 100 m tells you how far you've walked without a GPS.
- Measure or step off 100 meters on flat, open ground.
- Walk it at a natural pace, counting every time your left foot lands. That's your pace count.
- Typical adult: 60-70 paces per 100 m.
- In broken ground, up hills, or with a heavy pack, add 20-30% to your count.
- Track distance with pebbles or knots — one per 100 m walked.
SF Actual — Basic Land Navigation

Navigation
5 minUse moss and stars for rough direction
Moss and star tricks are approximate but useful when you have no compass and no sun.
- In the Northern Hemisphere, look for Polaris — find the two 'pointer' stars at the end of the Big Dipper's cup and follow them to the moderately bright star at the end of the Little Dipper's handle.
- Polaris marks true north within about 1°; face it and your right shoulder points east, your left shoulder points west.
- By day, in dense old-growth woods, moss tends to be heavier on the shaded, damper side of trees — in temperate northern forests that's usually the north side, but check multiple trees.
- Confirm with a second cue (sun, wind, water flow) before committing to a direction.
- Draw an arrow on the ground pointing to your chosen bearing before you move, so you don't lose it.
Warning: Moss grows on the wettest side, not necessarily the north side. Never rely on one tree — sample many and average.
Navigation
5 minUse an analog watch as a compass
In sun, an analog watch face gives you a rough bearing accurate enough to hold a straight line.
- Hold the watch flat, face up.
- In the Northern Hemisphere, point the hour hand at the sun.
- Bisect the angle between the hour hand and 12 o'clock — that midpoint line points south.
- In the Southern Hemisphere, point 12 at the sun instead and bisect toward the hour hand — that midpoint points north.
- Adjust one hour back during daylight saving time so the calculation uses solar time.
Tip: This is a rough method — accurate within 10–20° depending on latitude and season. Use it to hold direction, not to pinpoint locations.
Navigation
10 minNavigate to a linear feature with aiming off
Deliberately steering left or right of your target guarantees you know which way to turn when you hit a road, river, or ridge.
- Identify a linear feature (road, river, powerline, coast) that runs across your line of travel and passes through or near your destination.
- Instead of aiming directly at the destination, choose a bearing 5–10° to one side.
- Travel that bearing until you hit the linear feature.
- You now know with certainty whether the destination lies to your left or right along that feature.
- Turn and follow the feature until you reach the destination.
Tip: This trades a small amount of extra walking for total certainty about which way to turn. It's especially valuable in poor visibility.
Navigation
10 minWalk a straight line without a compass
Humans drift in circles without external references — line up landmarks in advance to stay straight.
- Pick a distinctive landmark in your direction of travel — a tall tree, boulder, or notch on a ridge.
- Line up a second landmark between you and the first, closer to you.
- Walk toward the closer landmark, keeping the far one behind it in line.
- When you reach the near landmark, pick a new landmark beyond the far one and repeat.
- If visibility drops, use sound direction (a stream, wind on a slope) or send a companion ahead to serve as a moving landmark.
Tip: In featureless terrain, plant a stick every 50 paces and line up the last two — you can see your line by looking back.
Navigation
10 minRead a specific slope from topographic contours
Contour lines encode slope steepness, direction, and specific landforms if you know how to read them.
- Check the map's contour interval (usually 20, 40, or 100 feet) — every line represents that much elevation change.
- Close-packed lines mean steep terrain; widely spaced lines mean gentle terrain.
- V-shapes pointing uphill are drainages and streams; V-shapes pointing downhill are ridges.
- Concentric closed loops mean summits; loops with tick marks pointing inward mean depressions or basins.
- Estimate slope steepness: contours a millimeter apart on a 1:24,000 map with 40-foot intervals mean roughly a 45° slope — near the limit of walkable.
Tip: Trace a proposed route with your finger and count contour crossings — every crossing is one contour interval of climb or descent.
Navigation
15 minNavigate by dead reckoning
Dead reckoning combines bearing and distance to estimate your position without landmarks or GPS.
- Note your start point exactly — grid coordinate, prominent landmark, or known location.
- Record the bearing you're traveling on with a compass — write it down, don't trust memory.
- Track distance by pace count or estimated time × speed as you move.
- Whenever you change bearing, log the new heading and reset your distance count.
- At any point, you can plot the current estimated position on the map by drawing each leg in sequence from the start.
Tip: Dead reckoning accumulates error. Confirm and reset your position at every known feature (a river crossing, trail junction, distinct peak) you pass.

Navigation
10 minAdjust a compass for declination
Magnetic north and true north are not the same. Declination is the correction that keeps you on the map.
- Find the declination value for your area on your map's declination diagram or at magnetic-declination.com.
- Determine whether the declination is east or west of true north.
- On an adjustable compass, turn the declination screw until the orienting arrow matches the printed declination offset.
- If your compass is not adjustable, add east declination to your magnetic bearing or subtract west declination.
- Double-check by orienting the map: the compass needle should align with the map's north-south grid when the map is rotated correctly.
Tip: Declination changes slowly over years and sharply across regions. Always use a current value for the exact area you're in.
Andrew Skurka — Adjust for Declination & Orient a Map

Navigation
20 minBuild a stick-and-shadow sun compass
A shadow stick gives you a full compass rose anywhere the sun is shining and you have 20 minutes to wait.
- Push a straight stick into flat ground in full sun.
- Mark the tip of the shadow with a stone. Wait 15–20 minutes and mark the new tip.
- Draw a straight line through both marks — this is your east-west line, with the first mark to the west.
- Stand with the west mark at your left toe and the east mark at your right toe; you are facing north.
- Mark north, south, east, and west on the ground so you can travel without re-checking.
Tip: For a traveling compass, draw the cross at camp and sight along the north line to a distant landmark before you move.
BattlBox — Stick and Shadow Survival Compass

Navigation
5 minRead trail markers and cairns
Blazes, cairns, and markers keep you on route — but only if you read them the way the trail builders intended.
- Paint blazes: a single blaze means continue straight; a double blaze with the top left means turn left, top right means turn right.
- Three blazes in a row often warn of a junction, hazard, or trail end.
- Cairns are piles of rocks marking routes above treeline or across slickrock — follow the line of cairns, not just one.
- A single rock placed on a cairn may mean 'this is the route'; rocks scattered beside it may mean 'wrong way'.
- When in doubt, confirm with a map and compass. Markers can be moved or missing.
Tip: In some regions, building new cairns is illegal because it confuses other hikers. Add rocks only to existing route cairns.
SystemRichie — Waymarking, Guidebook & Stage Planning
Navigation
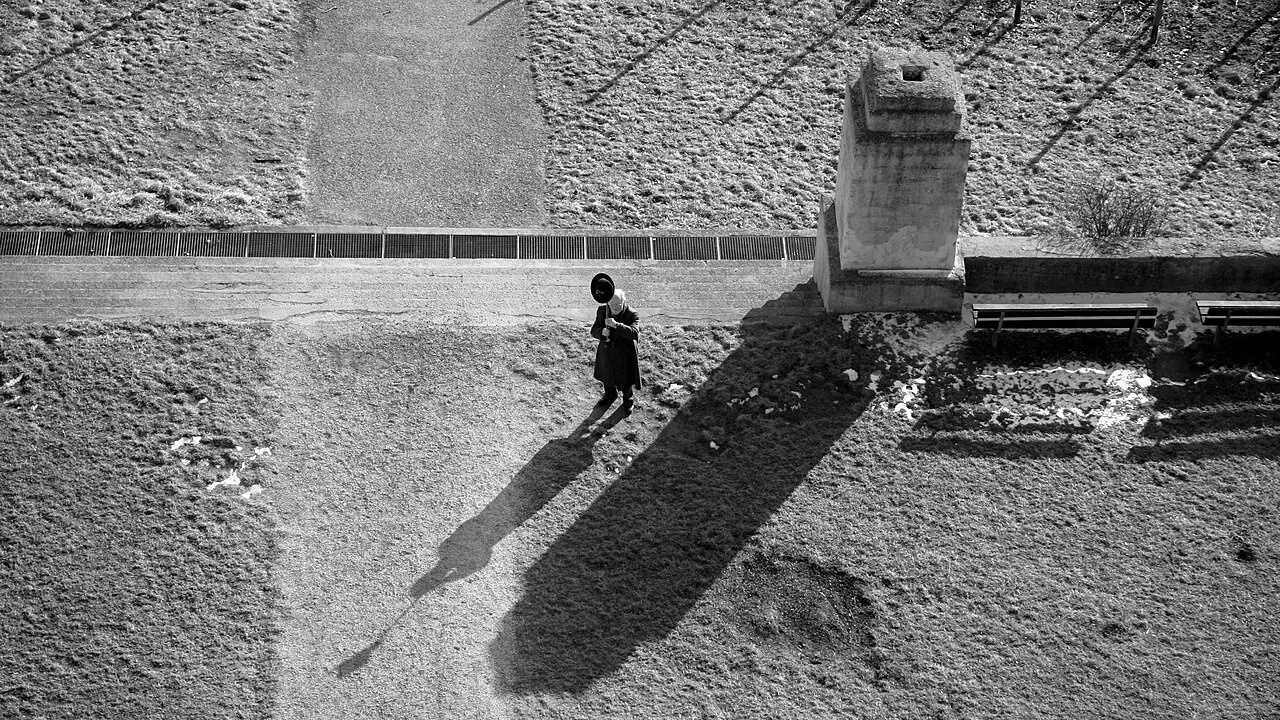
10 minFind East-West with the Shadow Stick Method
Learn to find cardinal directions using only a stick, sunlight, and basic observation. This method works globally and requires minimal tools.
- Find a level, open spot with direct sunlight and push a straight stick vertically into the ground.
- Mark the exact tip of the stick's shadow with a small stone, twig, or scratch in the dirt.
- Wait 15-20 minutes for the stick's shadow to visibly shift and grow shorter.
- Mark the new tip of the shadow with a second distinct marker.
- Draw a straight line connecting your first mark (West) to your second mark (East).
Tip: For greater accuracy, especially if observing for longer periods, consider drawing a circle around the base of your stick. The points where the shadow tip crosses the circle on either side will give you an even more precise east-west line.


Before you head out
Put the lesson in context with our print-ready fieldcraft guides, compare outdoor equipment, and explore wilderness destination guides.
Educational reference only. Wilderness conditions change fast — practice in low-stakes settings, take a certified wilderness first-aid course, and confirm regional regulations (fire, fishing, foraging, snaring) before you rely on any of these skills in the field.