Skip to content
Wild10
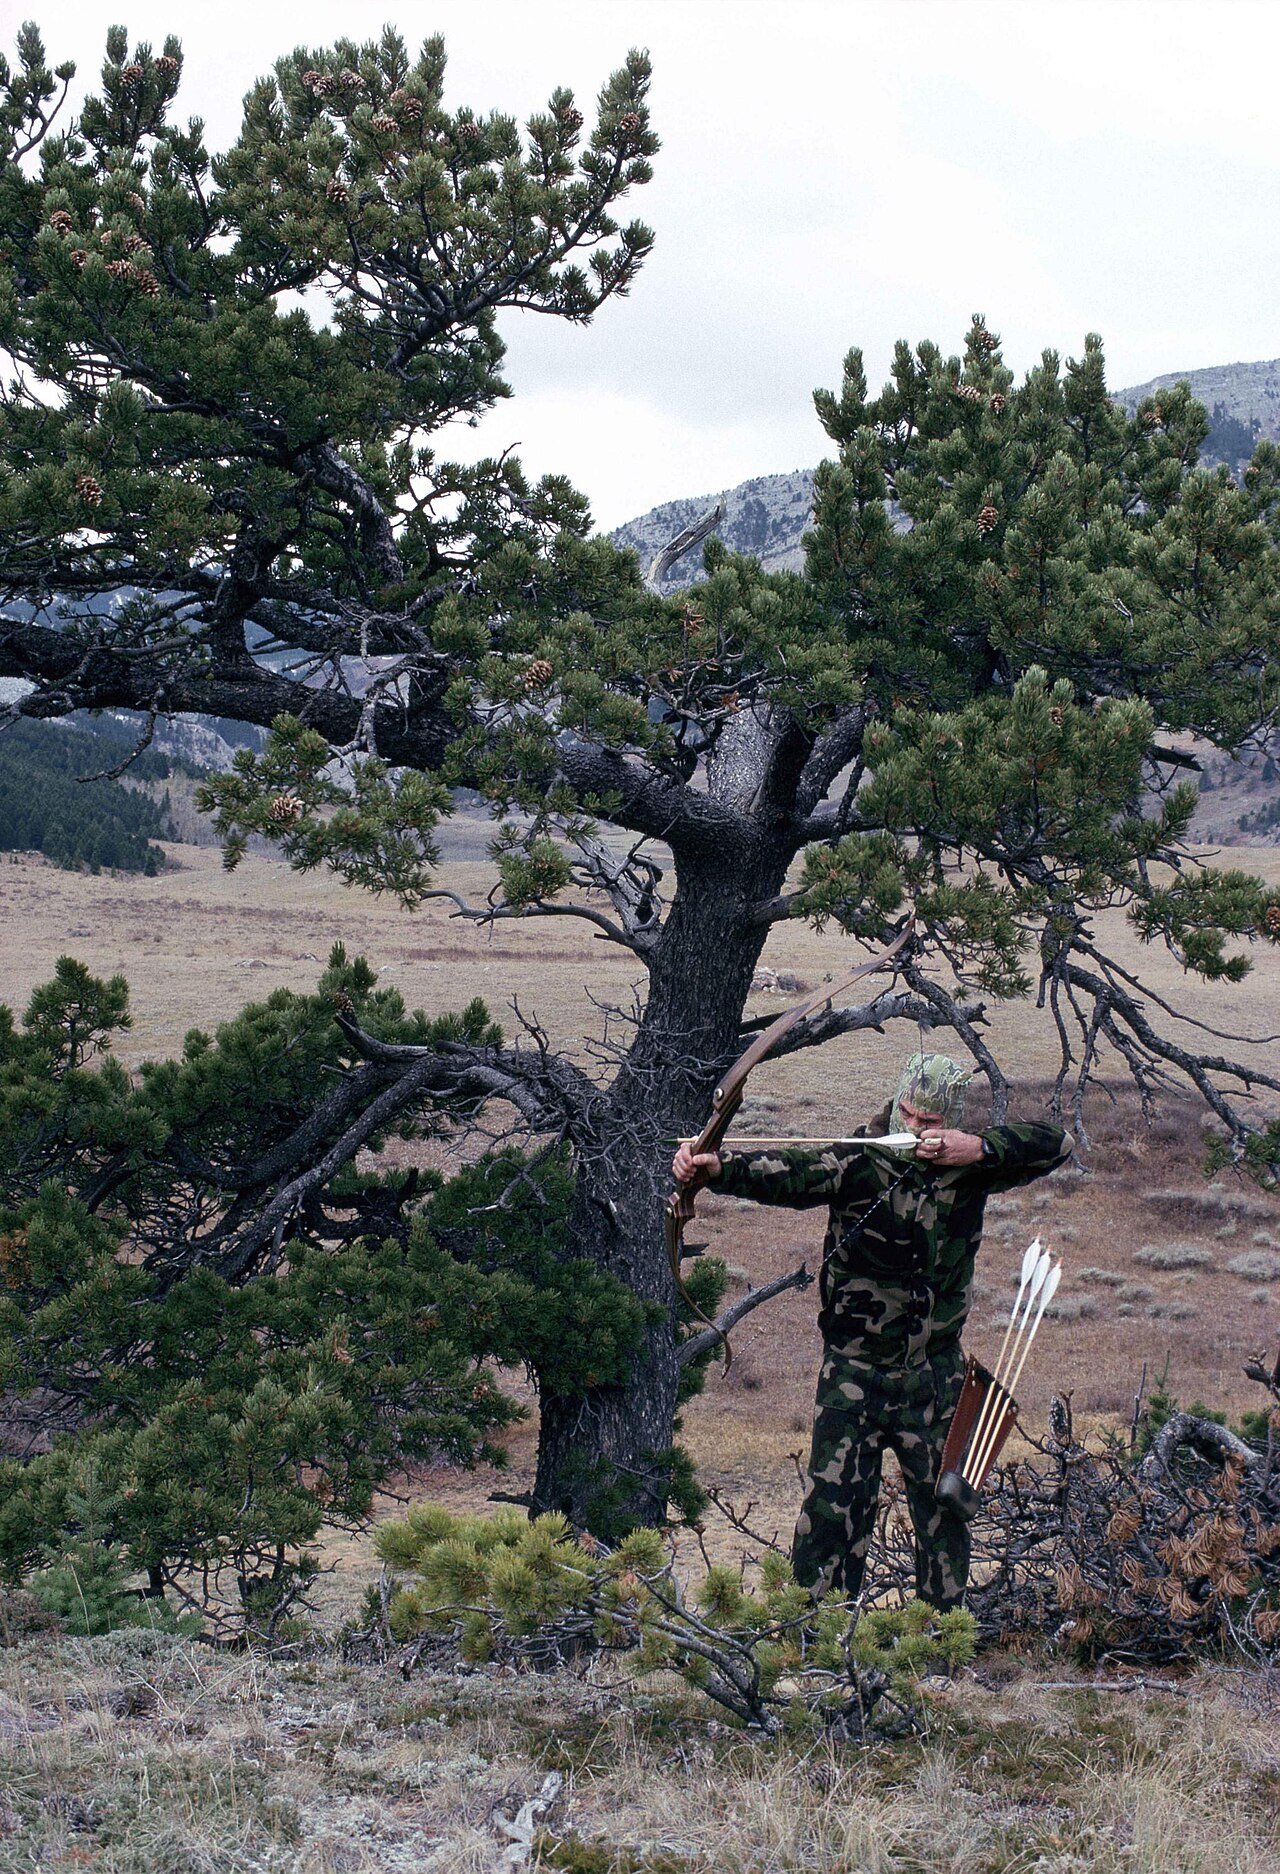
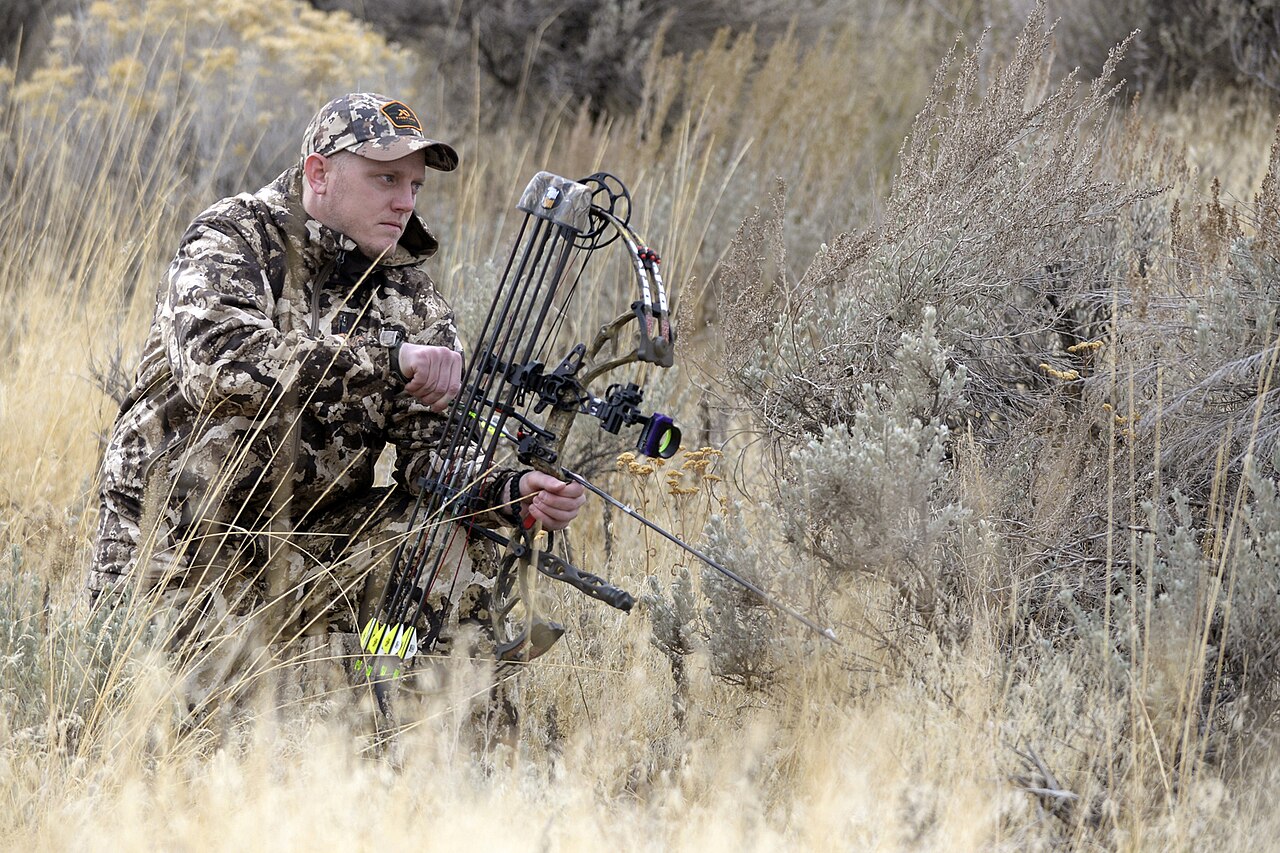
Camouflaged hunter at full draw with a traditional recurve bow in high country pine

Recurve hunting school · Setup

Set up your recurve before you tune anything

Brace height and nocking point are the foundation every tuning step stands on. Get these two numbers right first.

Every tuning process in this school assumes two things are already set: brace height within the bowyer's range and a correctly placed nocking point. If either is wrong, bare-shaft tuning will lie to you — you will chase spine adjustments that are actually setup errors.

Setup takes twenty minutes and a bow square. Do it once at the start of the season, verify it monthly, and every other adjustment in archery becomes dramatically easier.

Tool needed
Bow square (~$10)
Brace height
Maker's range, usually 7–9"
Nock point
Start ⅜–½" above square
Check
Monthly, and after any string change

01

Brace height: the bow's timing

Brace height is the distance from the string to the deepest point of the grip with the bow strung. It controls how long the string pushes the arrow: shorter brace means a longer power stroke (faster, harsher, louder); taller brace means shorter (slower, smoother, quieter). Every bow has a range — typically seven to nine inches — published by the maker. Stay inside it.

Adjust by twisting the string: more twists raise brace height, fewer lower it. Work a few twists at a time, shoot a group, and listen. Most bows have an obvious sweet spot where they go quiet and group tight — find it, then measure and record the number so a new string can be set to match instantly.

Brace height also shifts effective draw weight slightly — a taller brace shortens the draw a fraction. This is one more reason to measure your actual draw weight at your actual draw length with a scale rather than trusting the number stamped on the limb, which is rated at 28 inches.


Camouflaged hunter at full draw with a traditional recurve bow in high country pine
Mishler, N and MJ, U.S. Fish and Wildlife Service / Public domain · Wikimedia Commons

02

Set your nocking point correctly

The nocking point positions the arrow on the string. Start here, then confirm with bare-shaft tuning.

  1. 1Clip a bow square on the string and rest it on the arrow shelf.
  2. 2Tie a nocking point (serving thread or brass) ⅜ to ½ inch above the square's zero line for a split-finger grip; ¼ to ⅜ inch for three-under.
  3. 3Nock an arrow — it should sit level or with the nock a hair high, with light pinch-free finger room below for split finger.
  4. 4Shoot three fletched arrows. If they porpoise (nock high/low in flight), move the point an eighth-inch and retest.
  5. 5Lock it in with serving thread and note the measurement. Confirm during bare-shaft tuning: high/low bare shafts are nock-point problems, not spine problems.

03

The rest of the setup checklist

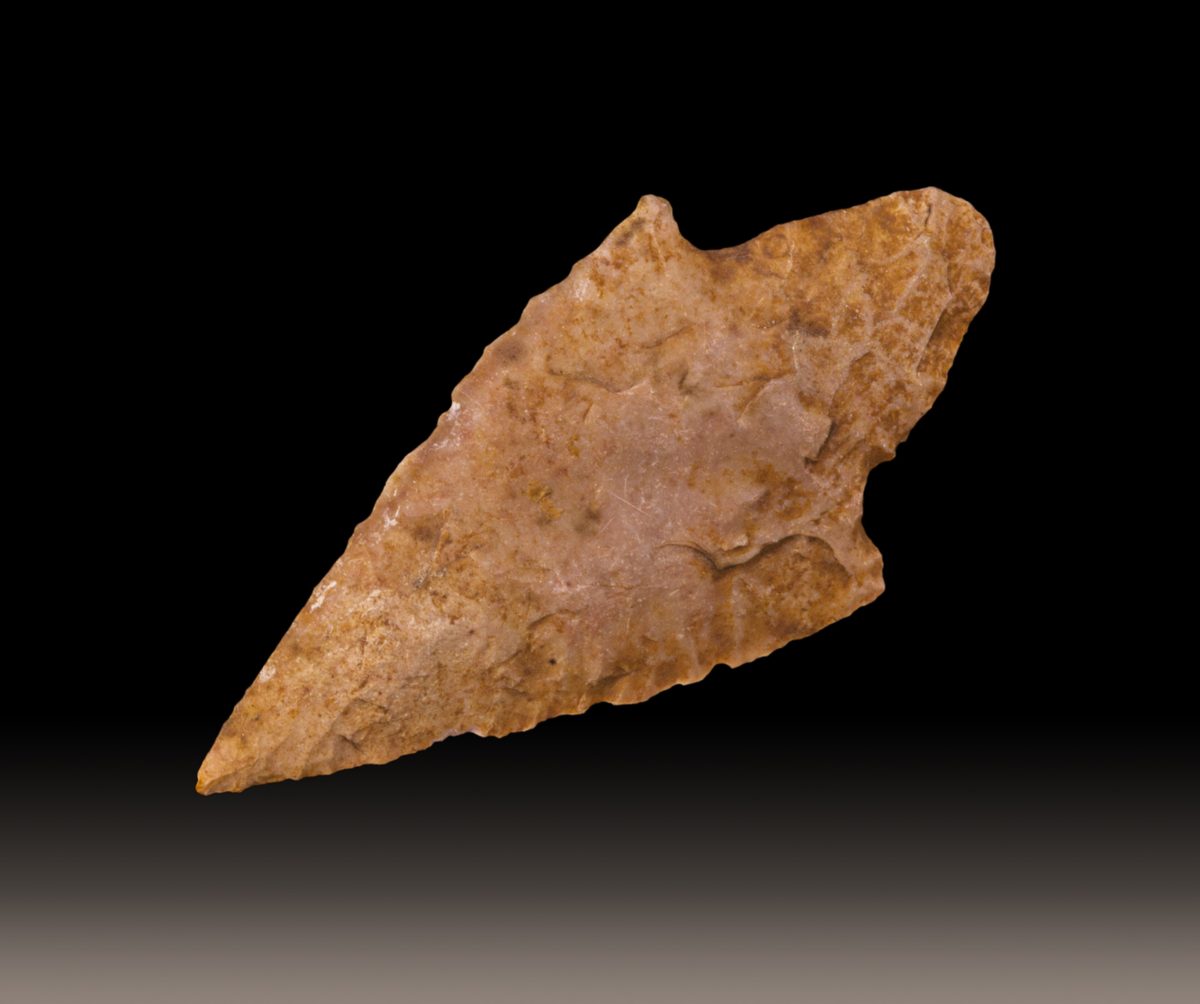
Hunting broadhead points showing cutting edges
Unknown photographer / Wikimedia Commons · Wikimedia Commons

Tiller

Limb balance

Tiller is the difference in brace measurement between top and bottom limb. Most split-finger hunters do fine with the bow as-tilled from the maker (often ⅛–¼" positive). Adjustable-tiller ILF bows can be set even or slightly positive — but only touch it after brace and nock point are right.

String strands and material

String choice

Match strand count to draw weight and material: older wood-core limbs need Dacron (B50/B55); modern reinforced limbs can run low-stretch materials like 8125 or 652. More strands are quieter and smoother; fewer are faster. A hunting bow favors quiet.

Real draw weight

Verify with a scale

Limbs are rated at 28". Add roughly 2–3 lb per inch you draw past that, subtract under. A '45 lb' bow is 50+ lb for a 30-inch draw — which changes your spine calculation, your legal minimums, and whether you can hold it in the cold.

The arrow pass

Clearance

Confirm the arrow, at full draw, clears the sight window with at least an inch of shaft past the rest, and that fletching clears the shelf and your face. Fletching contact is a hidden cause of erratic flight that tuning will never fix.

04

Setup for hunting, not the range

A hunting setup is a compromise you choose on purpose. The fastest brace height is rarely the quietest; the lightest string is rarely the most durable. Bias every decision toward forgiveness and quiet — you are shooting a dozen arrows a season that matter, not a hundred a day for score.

Write your final numbers down: brace height, nock point height, string type and strand count, and measured draw weight. Tape them inside your bow case. When a string dies at hunting camp — and one eventually will — that card is the difference between a ten-minute fix and a ruined hunt.

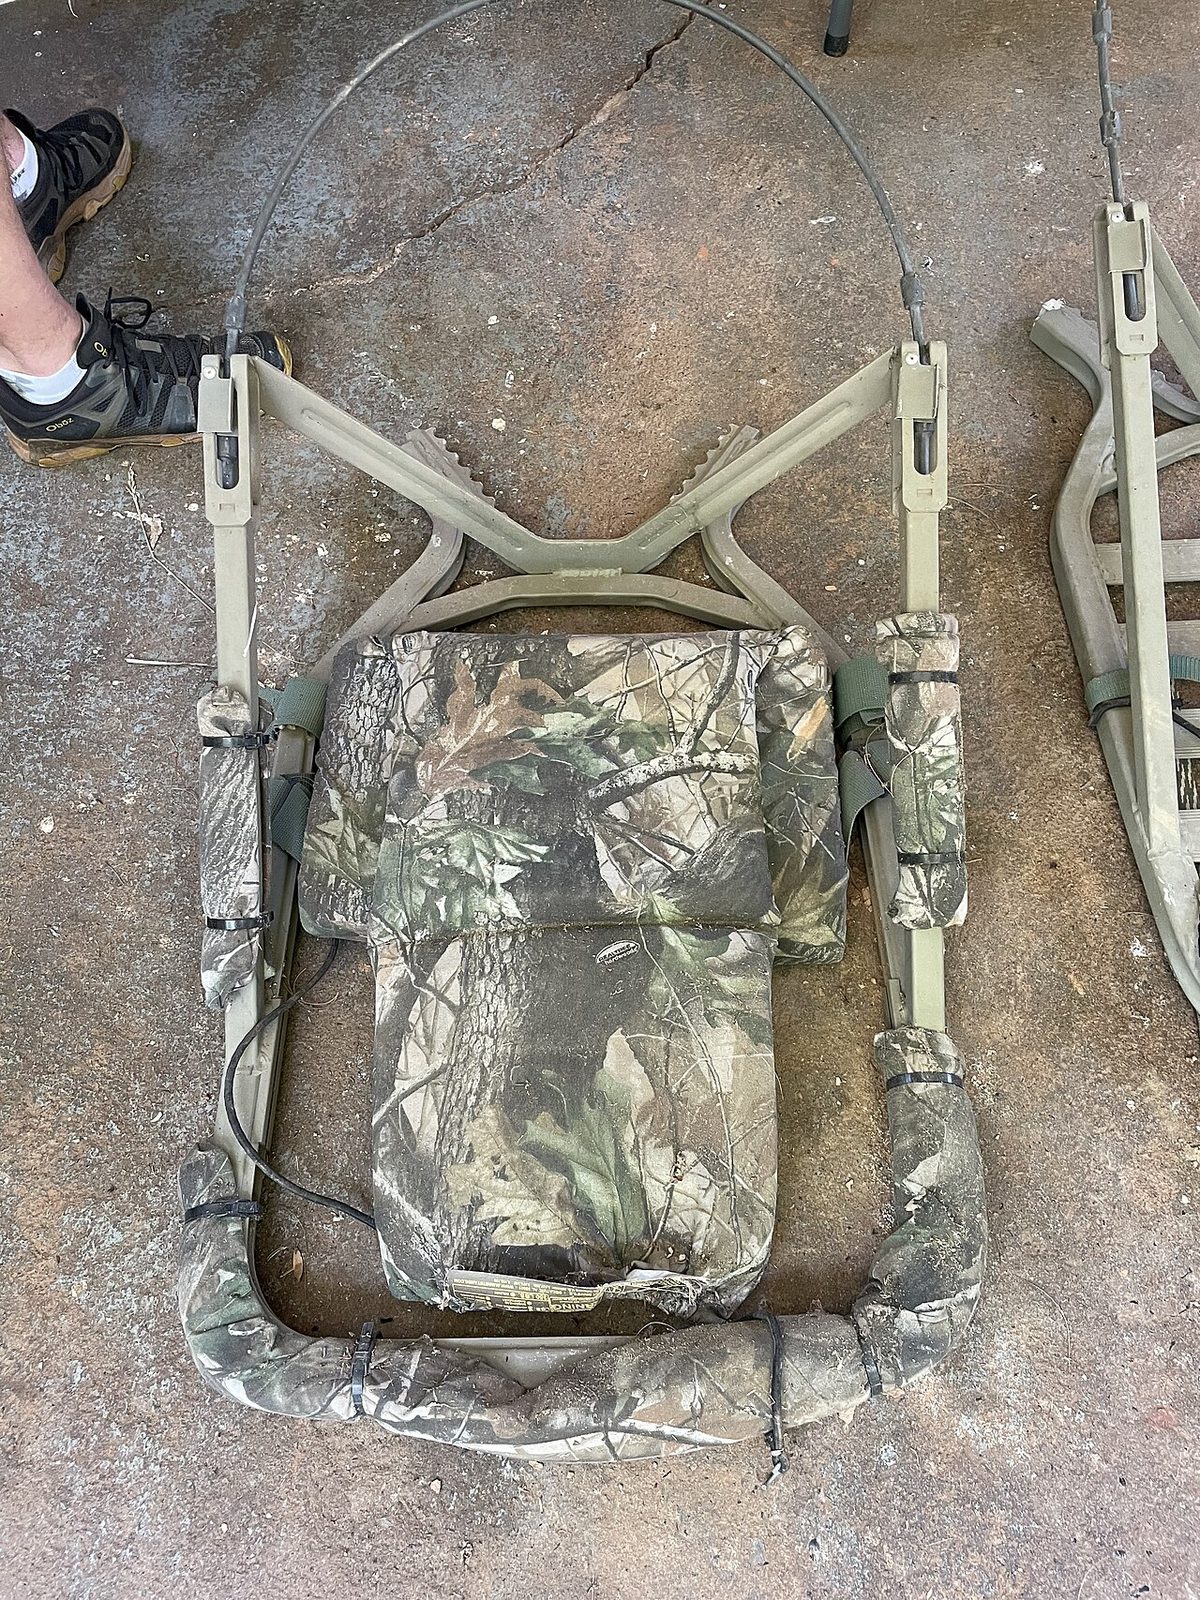
Camouflage tree stand set in hardwood timber
Jackmalott / CC BY-SA 4.0 · Wikimedia Commons

Learn from the experts

6 expert video lessons on bow setup: brace height & nock point

We hand-picked the best instruction on this topic from the most respected traditional archery teachers on YouTube — each embedded here with our notes on what to watch for.

Video embedded from YouTubeBear Archery

Fred Eichler's Guide to Achieve the Perfect Brace Height

Bear ArcheryFred Eichler — one of the most accomplished traditional bowhunters alive — on finding brace height by ear and group.

Video embedded from YouTube3RiversArchery

How to Set a Nocking Point on a Recurve Bow

3RiversArcheryThe bow-square method demonstrated start to finish, including tying the nock set.

Video embedded from YouTubeMerlin Archery

Nock Point Position for a Traditional Bow

Merlin ArcheryThe UK's largest archery shop on nock-point placement and how it interacts with arrow flight.

Video embedded from YouTube3RiversArchery

Testing Recurve Bow Brace Height Impact on Arrow Speed

3RiversArcheryChronograph data on what raising and lowering brace height actually does to speed and noise.

Video embedded from YouTubeJake Kaminski

Brace Height Myths You Probably Believe

Jake KaminskiThree things brace height does not do — a useful antidote to forum folklore before you start twisting strings.

Video embedded from YouTubeBob Lee Bows

Bob Lee Bow Care — Setting Your Nock Point

Bob Lee BowsA legendary custom bowyer's shop procedure — the way it is done on bows that cost four figures.

Questions

Frequently asked

What brace height should my recurve be?
Within the manufacturer's published range — typically 7 to 9 inches for a hunting recurve. Inside that range, find the quietest, tightest-grouping setting by shooting at a few brace heights, then record the number. Taller is generally smoother and quieter; shorter is faster and harsher.
How high should my nocking point be?
Start ⅜ to ½ inch above square for split finger, ¼ to ⅜ inch for three-under, measured with a bow square. Then confirm with shooting: arrows that porpoise or bare shafts that strike high or low tell you to move it an eighth-inch at a time.
How do I change brace height?
Twist the string. Adding twists raises brace height; removing twists lowers it. Work a few twists at a time, shoot groups, and listen for the sweet spot. Never exceed the string's reasonable twist count or go outside the maker's brace range.
Is the draw weight printed on my limbs accurate for me?
Only if you draw exactly 28 inches. Draw weight is rated at 28"; expect roughly 2–3 lb more per inch beyond that and less under. Measure your actual weight at your actual draw length with a bow scale — it drives spine choice and legal minimums.

Also on The Wild10

Fishing Guides

Fish identification, the knots that hold, lure selection by conditions, and the habits that fill a stringer.

Open the fishing hub →
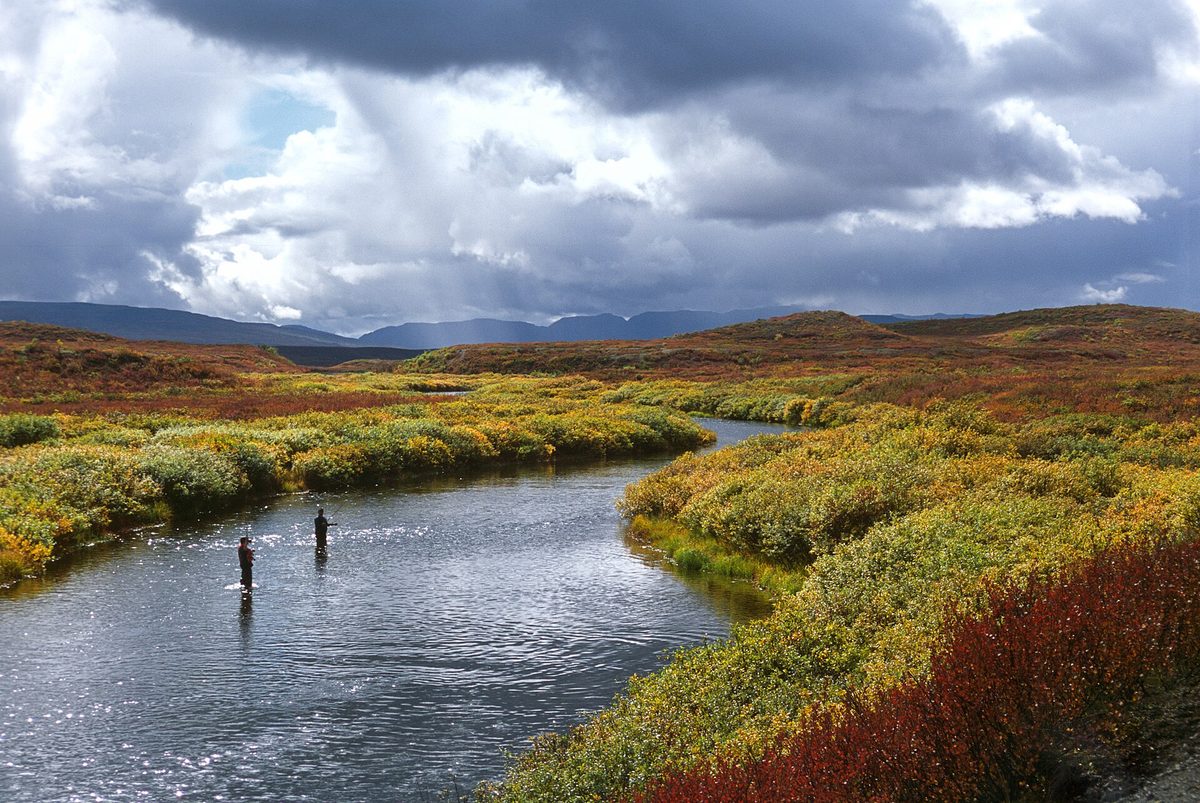
Fly angler casting on a clear northern river