Recurve hunting school · Form
Recurve shooting form that survives the woods
Range form is easy. Form that works kneeling in deadfall with your heart at 160 is a different build — here is the whole sequence.
Form is the machine that delivers the arrow: stance, posture, draw, anchor, expansion, release, follow-through. Olympic shooters build this machine for one position — standing square on a flat line. A hunter needs the same machine to run kneeling, seated, leaning around a trunk, and bent at the waist twenty feet up a tree.
The solution is not a different form for every position. It is a form built from the waist up that is identical no matter what your legs are doing. Get the upper-body sequence right and your legs become scenery.
- Sequence
- 7 steps, same every shot
- Core rule
- Form lives above the waist
- Stance
- Slightly open, feet hip-width
- Anchor hold
- 2–4 seconds maximum
01
Stance and posture: the platform
Stand with feet about hip-width, weight balanced fifty-fifty, body perpendicular to the target line. Most traditional hunters shoot best from a slightly open stance — front foot a half-step back from the line — which pre-rotates the torso toward the target and takes strain off the bow arm at full draw.
Posture is tall, not rigid: head level and over your spine, shoulders down and back, chest neither puffed nor collapsed. The most common hunting-posture fault is leaning back away from the target at full draw, which lengthens the draw, collapses the anchor, and sends arrows high.
Test your posture with the pick-up drill: close your eyes, draw to anchor, open your eyes. If you are not looking at the spot, your head moved during the draw — and your anchor is not real yet.
02
The seven-step shot sequence
Run the identical sequence on every arrow — range, stump, or deer. The sequence is what transfers under pressure.
- 11. Set your feet and confirm the stance — weight balanced, slightly open.
- 22. Set the bow grip: pad-only contact, knuckles 45°, fingers relaxed.
- 33. Hook the string and raise the bow toward the target as you begin the draw.
- 44. Draw in one smooth motion to anchor — no creeping, no settling in.
- 55. Confirm anchor contact points and expand: draw elbow moves a quarter-inch back as the chest opens.
- 66. Release by relaxing the fingers — the string pushes them away.
- 77. Follow through: bow arm stays up, string hand stays at your face, eyes stay on the spot until the arrow lands.
03
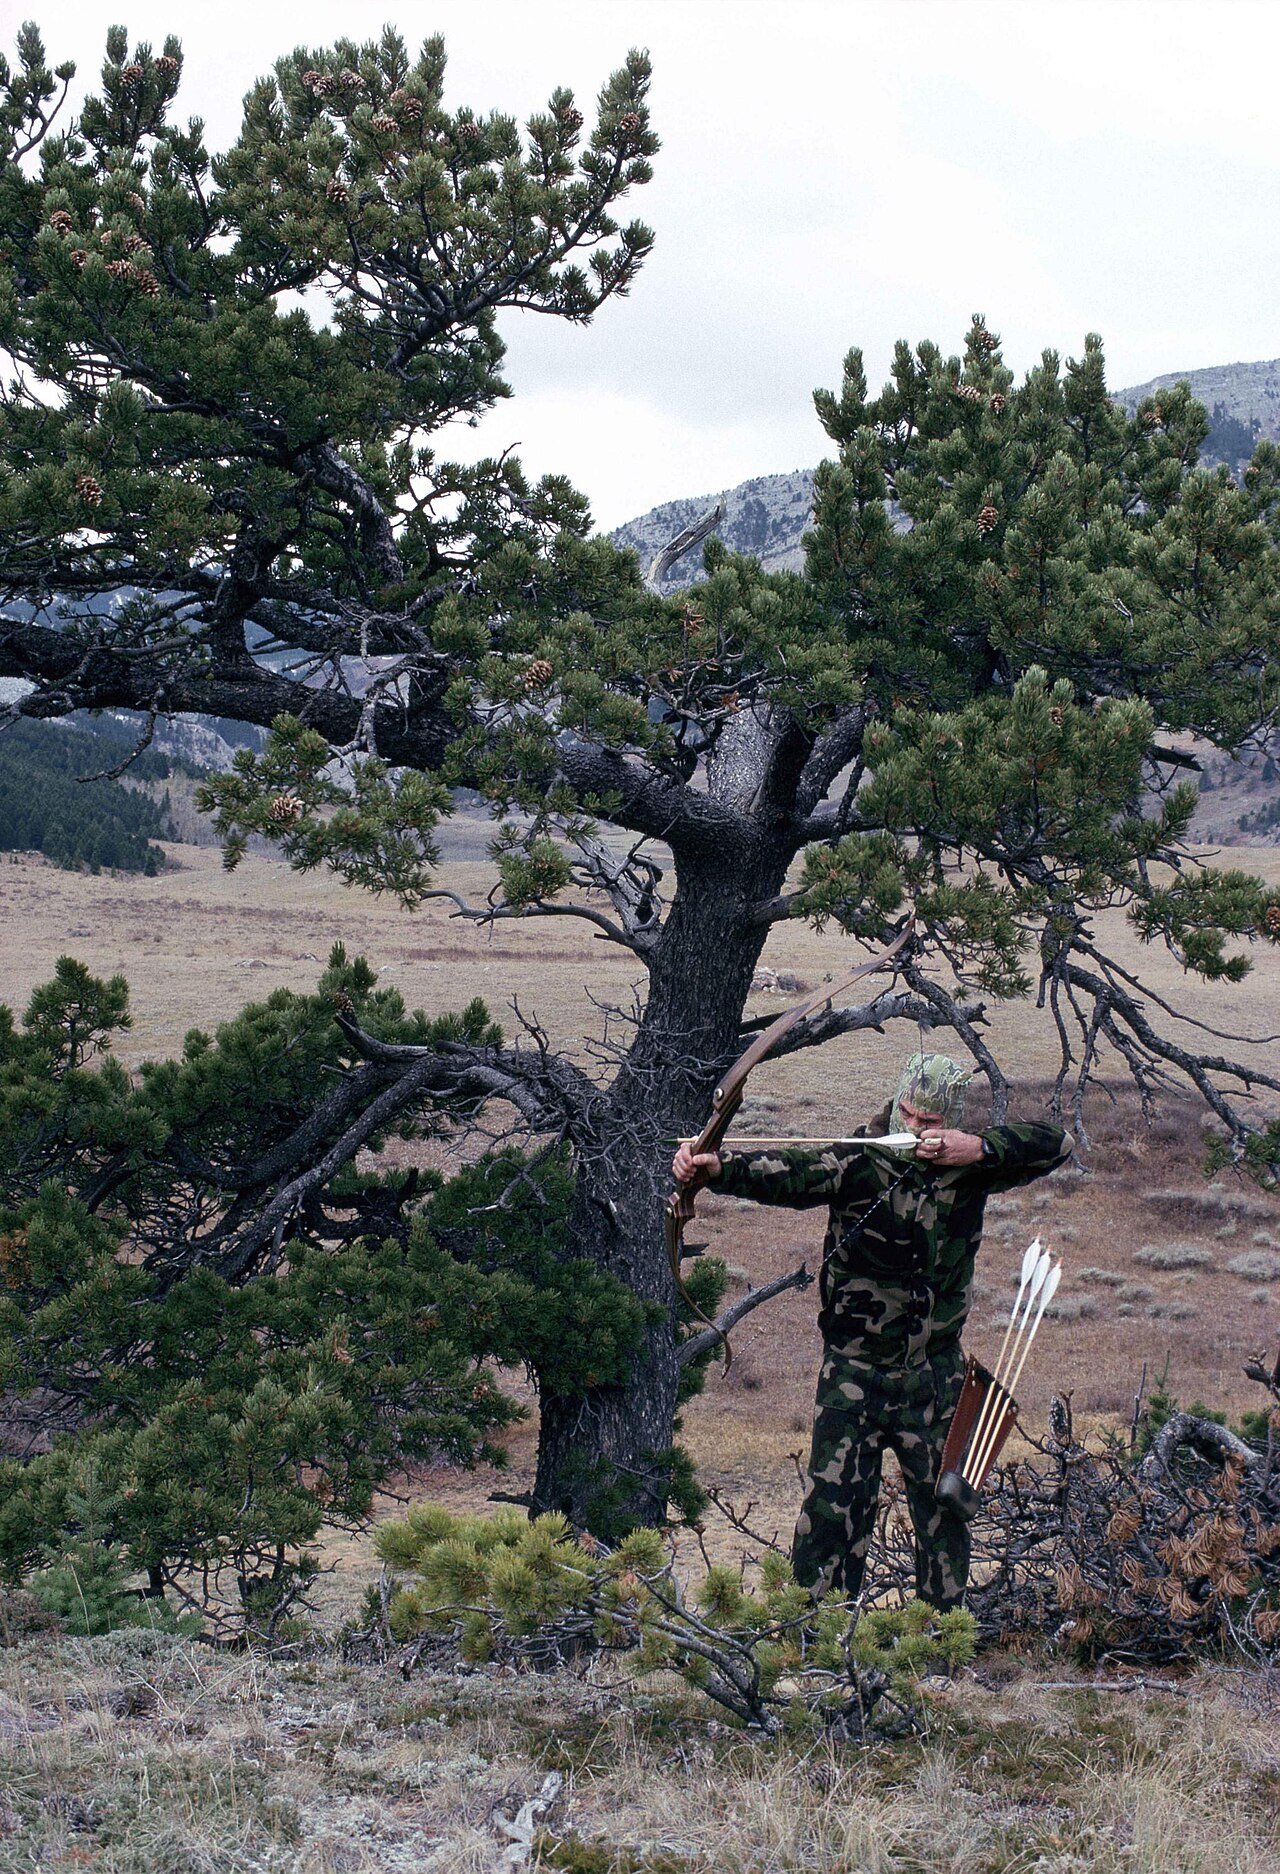
The draw and anchor: where hunting form is won
Draw the bow the way you will in the woods: start with the bow already raised toward the target so the draw covers the shortest possible arc of movement. The sky-draw and the big sweeping draw from the hip both wave motion in a deer's face. Practice drawing slowly — a ten-second draw that a bedded deer's eye cannot catch — and quickly, for the standing alert animal.
Your anchor must be a place, not a feeling. Split-finger hunters commonly anchor the index finger in the corner of the mouth; three-under shooters use the middle finger. Add a second contact — thumb under the jaw, string touching the nose — and you have a verifiable, repeatable position instead of a memory.
You cannot hold a recurve. At full draw you have two to four seconds before form collapses, so the sequence is draw, anchor, expand, release — a continuous cycle, not a hold. If the shot is not there at anchor, let down slowly. Grinding through a shaky eight-second hold is how arrows end up in guts instead of lungs.
04
Form faults that cost deer — and the fix
| Fault | What it does | The fix |
|---|---|---|
| Leaning back at draw | Arrows high, anchor collapses | Hips forward, head over spine; re-anchor |
| Dropping the bow arm | Arrows low, watching the arrow | Arm stays up until the arrow hits |
| Creeping at anchor | Weak, right-flying arrows (RH) | Keep drawing through expansion |
| Plucking the string | Random left-right fliers | Blank-bale release drill |
| Bending the bow arm down from a stand | High misses on close deer | Bend at the waist, keep the T-shape |
Learn from the experts
6 expert video lessons on posture & shooting form
We hand-picked the best instruction on this topic from the most respected traditional archery teachers on YouTube — each embedded here with our notes on what to watch for.
Recurve Bow Shooting Stance and Posture
Clay Hayes — Clay builds the traditional shooting platform from the feet up — the exact sequence above.
Traditional Archery Tips — Archery FORM
Clay Hayes — The full traditional shot cycle with the hunting-specific details most form videos skip.
Traditional Archery Anchor, Release & Follow Through
Clay Hayes — The back half of the shot — anchor, clean release, and the follow-through that makes it stick.
Closed Stance vs Open Stance — Archery Basics Explained
Jake Kaminski — An Olympian's biomechanical comparison of stances — useful even though his context is target recurve.
How to Get the Perfect Archery Posture
World Archery — The international federation's posture fundamentals — the skeleton your hunting form hangs on.
Recurve Form Series Ep. 4 — Set Position: Stance and Posture
Jake Kaminski — Part of Kaminski's full form series — deep detail on the set position before the draw begins.
Questions
Frequently asked
- What stance is best for recurve hunting?
- A slightly open stance — front foot a half-step back from the target line — suits most traditional hunters because it pre-rotates the torso and relieves bow-arm strain. Feet hip-width, weight balanced. More important than the exact stance is building form from the waist up so it survives kneeling and seated positions.
- How long should I hold a recurve at full draw?
- Two to four seconds maximum. A recurve has no let-off, so holding is a countdown to collapse. The shot cycle is draw, anchor, expand, release — continuous, not a hold. If the window does not open by anchor, let down slowly.
- What is a good anchor point for traditional archery?
- Any position you can verify by touch and repeat exactly: index finger in the corner of the mouth for split finger, middle finger for three-under, ideally plus a second contact like thumb under the jaw or string on the nose. A feeling is not an anchor — a place is.
- Why do I shoot worse from a treestand?
- Almost always because you dropped the bow arm to reach the steep angle instead of bending at the waist. The fix: draw level at full T-form, then hinge at the hips to come down onto the deer. Practice it from an elevated position before the season.
Every hunting guide
Hunting Hub
Where every hunting guide on The Wild10 starts.
Types of Game
Big game, small game, upland birds, and waterfowl — habitat and season.
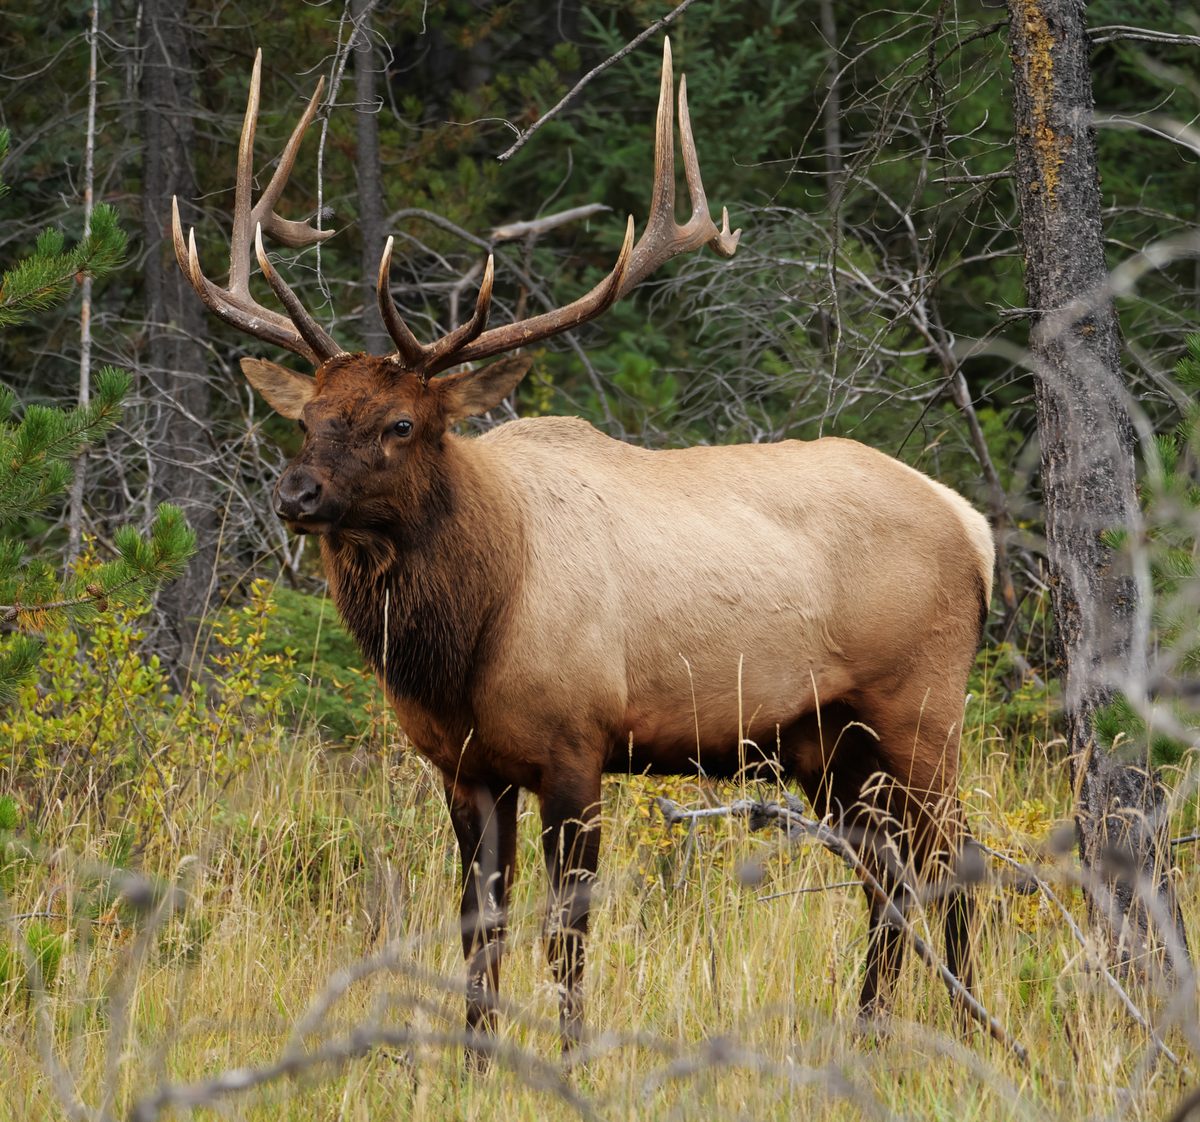
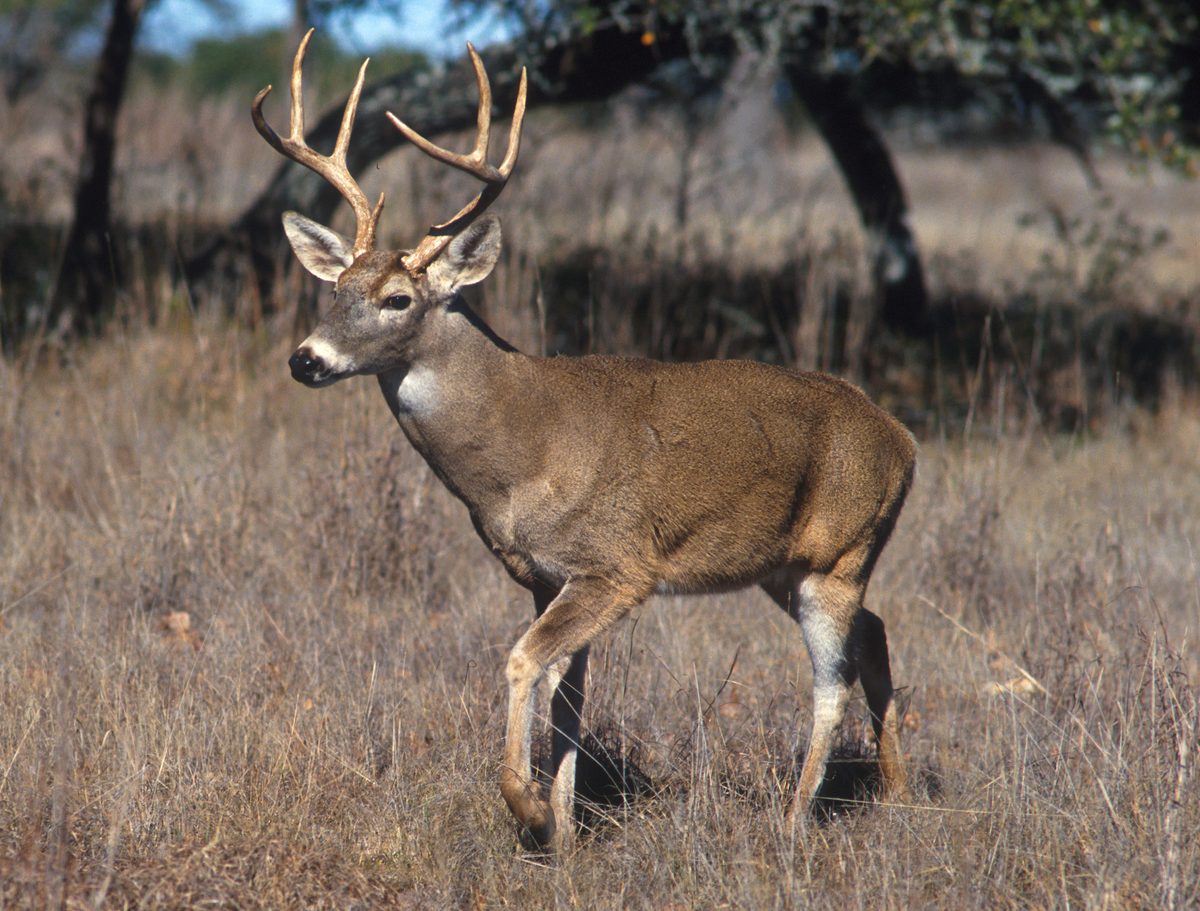
Big Game
Deer, elk, moose, bear, hog and sheep — where to hunt, tags, and what to expect.
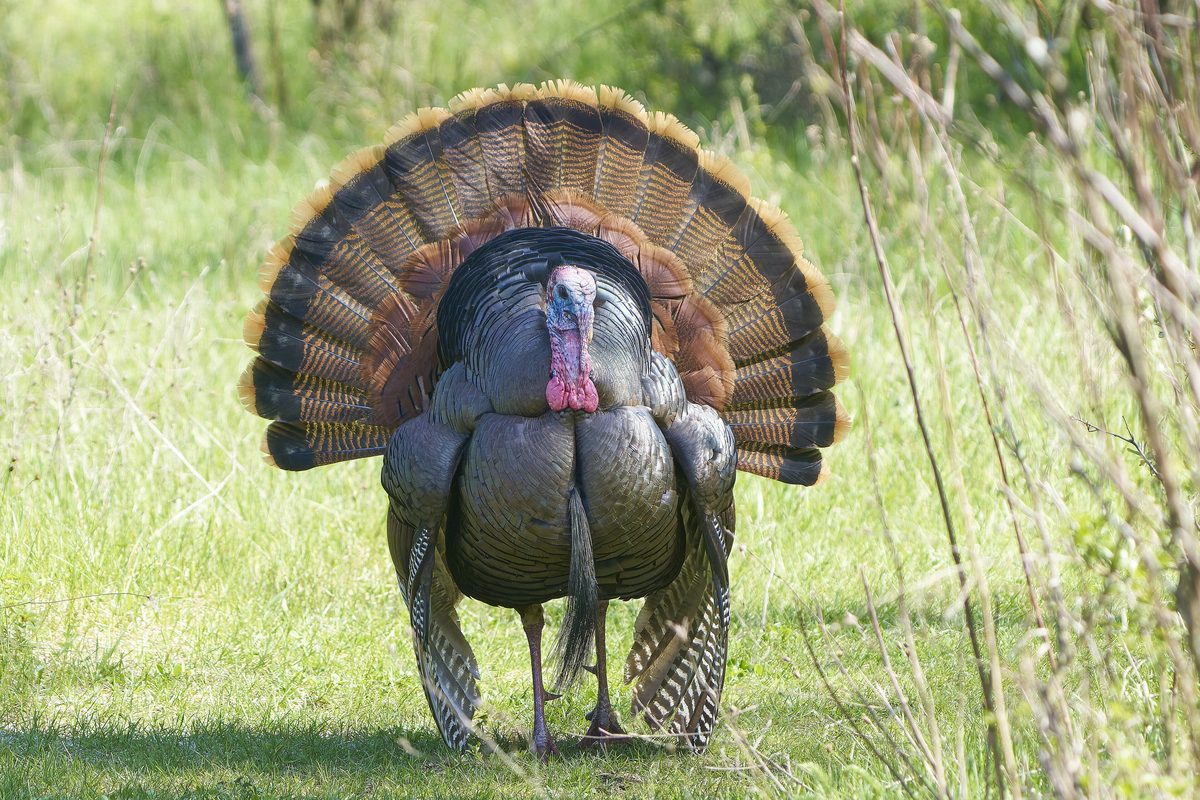
Small Game & Birds
Turkey, pheasant, grouse, quail, ducks, geese, rabbits, squirrels and predators.
Deer Hunting by State
All 50 states — seasons, tags, laws, public land and tactics.
Turkey Hunting
Calling, shotguns, bows, camo, blinds, scouting, and spring vs fall.
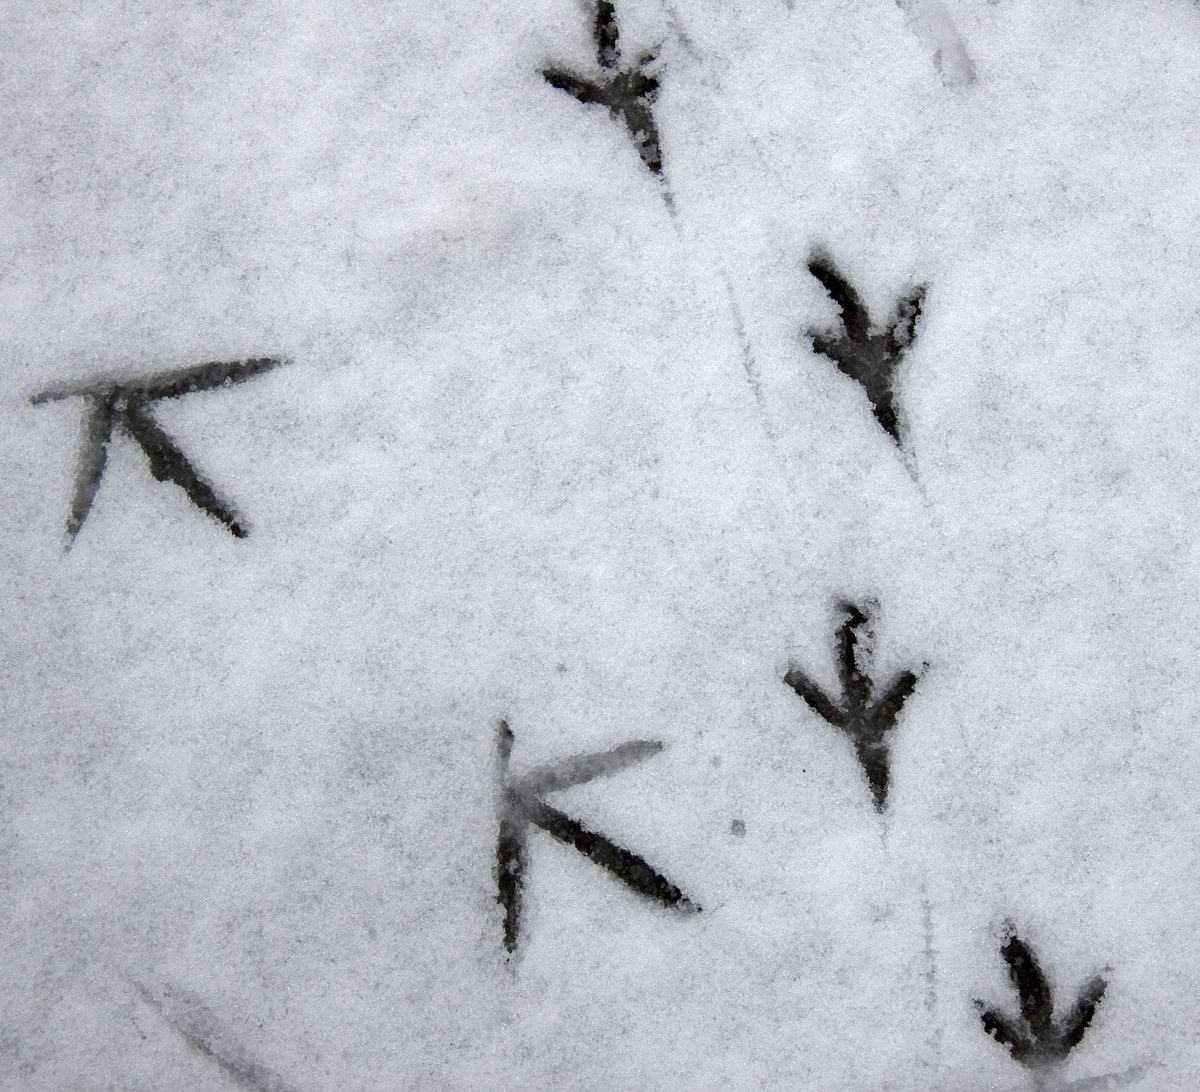
Species Finder
Search every species and filter by tracks, droppings and sign, harvest, or skinning.
Rifle Hunting
Cartridges, zero, field positions, wind, and shot placement.
Shotgun Hunting
Gauges, chokes, shot size, and lead for birds and slug country.
Recurve & Traditional Bow
Instinctive shooting, draw weight, arrow spine, and close-range craft.
Traditional Archery Hub
Eleven recurve and longbow guides: form, aiming, spine, tuning, and building tackle.
Compound Bow Hunting
Draw length, sight and rest setup, broadhead tuning, and shot process.
Hunting Tips
Wind discipline, stand placement, blood trailing, and meat care.
Keep going
Related reading
Recurve Hunting School
Every recurve hunting skill topic — form, aiming, tuning and more — in one place.
Read →Aiming a Recurve
Instinctive, gap, split-vision and fixed-crawl aiming explained — how each system works and how to pick the one that fits your hunting.
Read →Bow Grip & Hold
Where the grip sits in your hand, how much pressure, and how to stop torquing the riser — the single biggest accuracy killer in traditional archery.
Read →Finger Placement & Release
Split finger vs three-under, the deep hook, tabs vs gloves, and a clean release — everything below the nock, dialed.
Read →Top 10 lists
Best in category: hunting gear
Ranked picks with real product photos, specs, and editor notes — the buying side of everything covered in these guides.
Best Hunting Rifles
Bolt guns from budget workhorses to mountain rifles.
See the ranking →Best Upland Shotguns
Over-unders and light autos built to carry all day.
See the ranking →Best Waterfowl Shotguns
3.5-inch guns that keep cycling through mud and ice.
See the ranking →Best Deer Hunting Shotguns
Rifled slug guns for shotgun-only whitetail country.
See the ranking →Best Compound Bows
Forgiving, quiet compounds that tune without a fight.
See the ranking →Best Recurve Bows
Hunting recurves that shoot quiet and hold up outside.
See the ranking →Also on The Wild10
Fishing Guides
Fish identification, the knots that hold, lure selection by conditions, and the habits that fill a stringer.
Open the fishing hub →